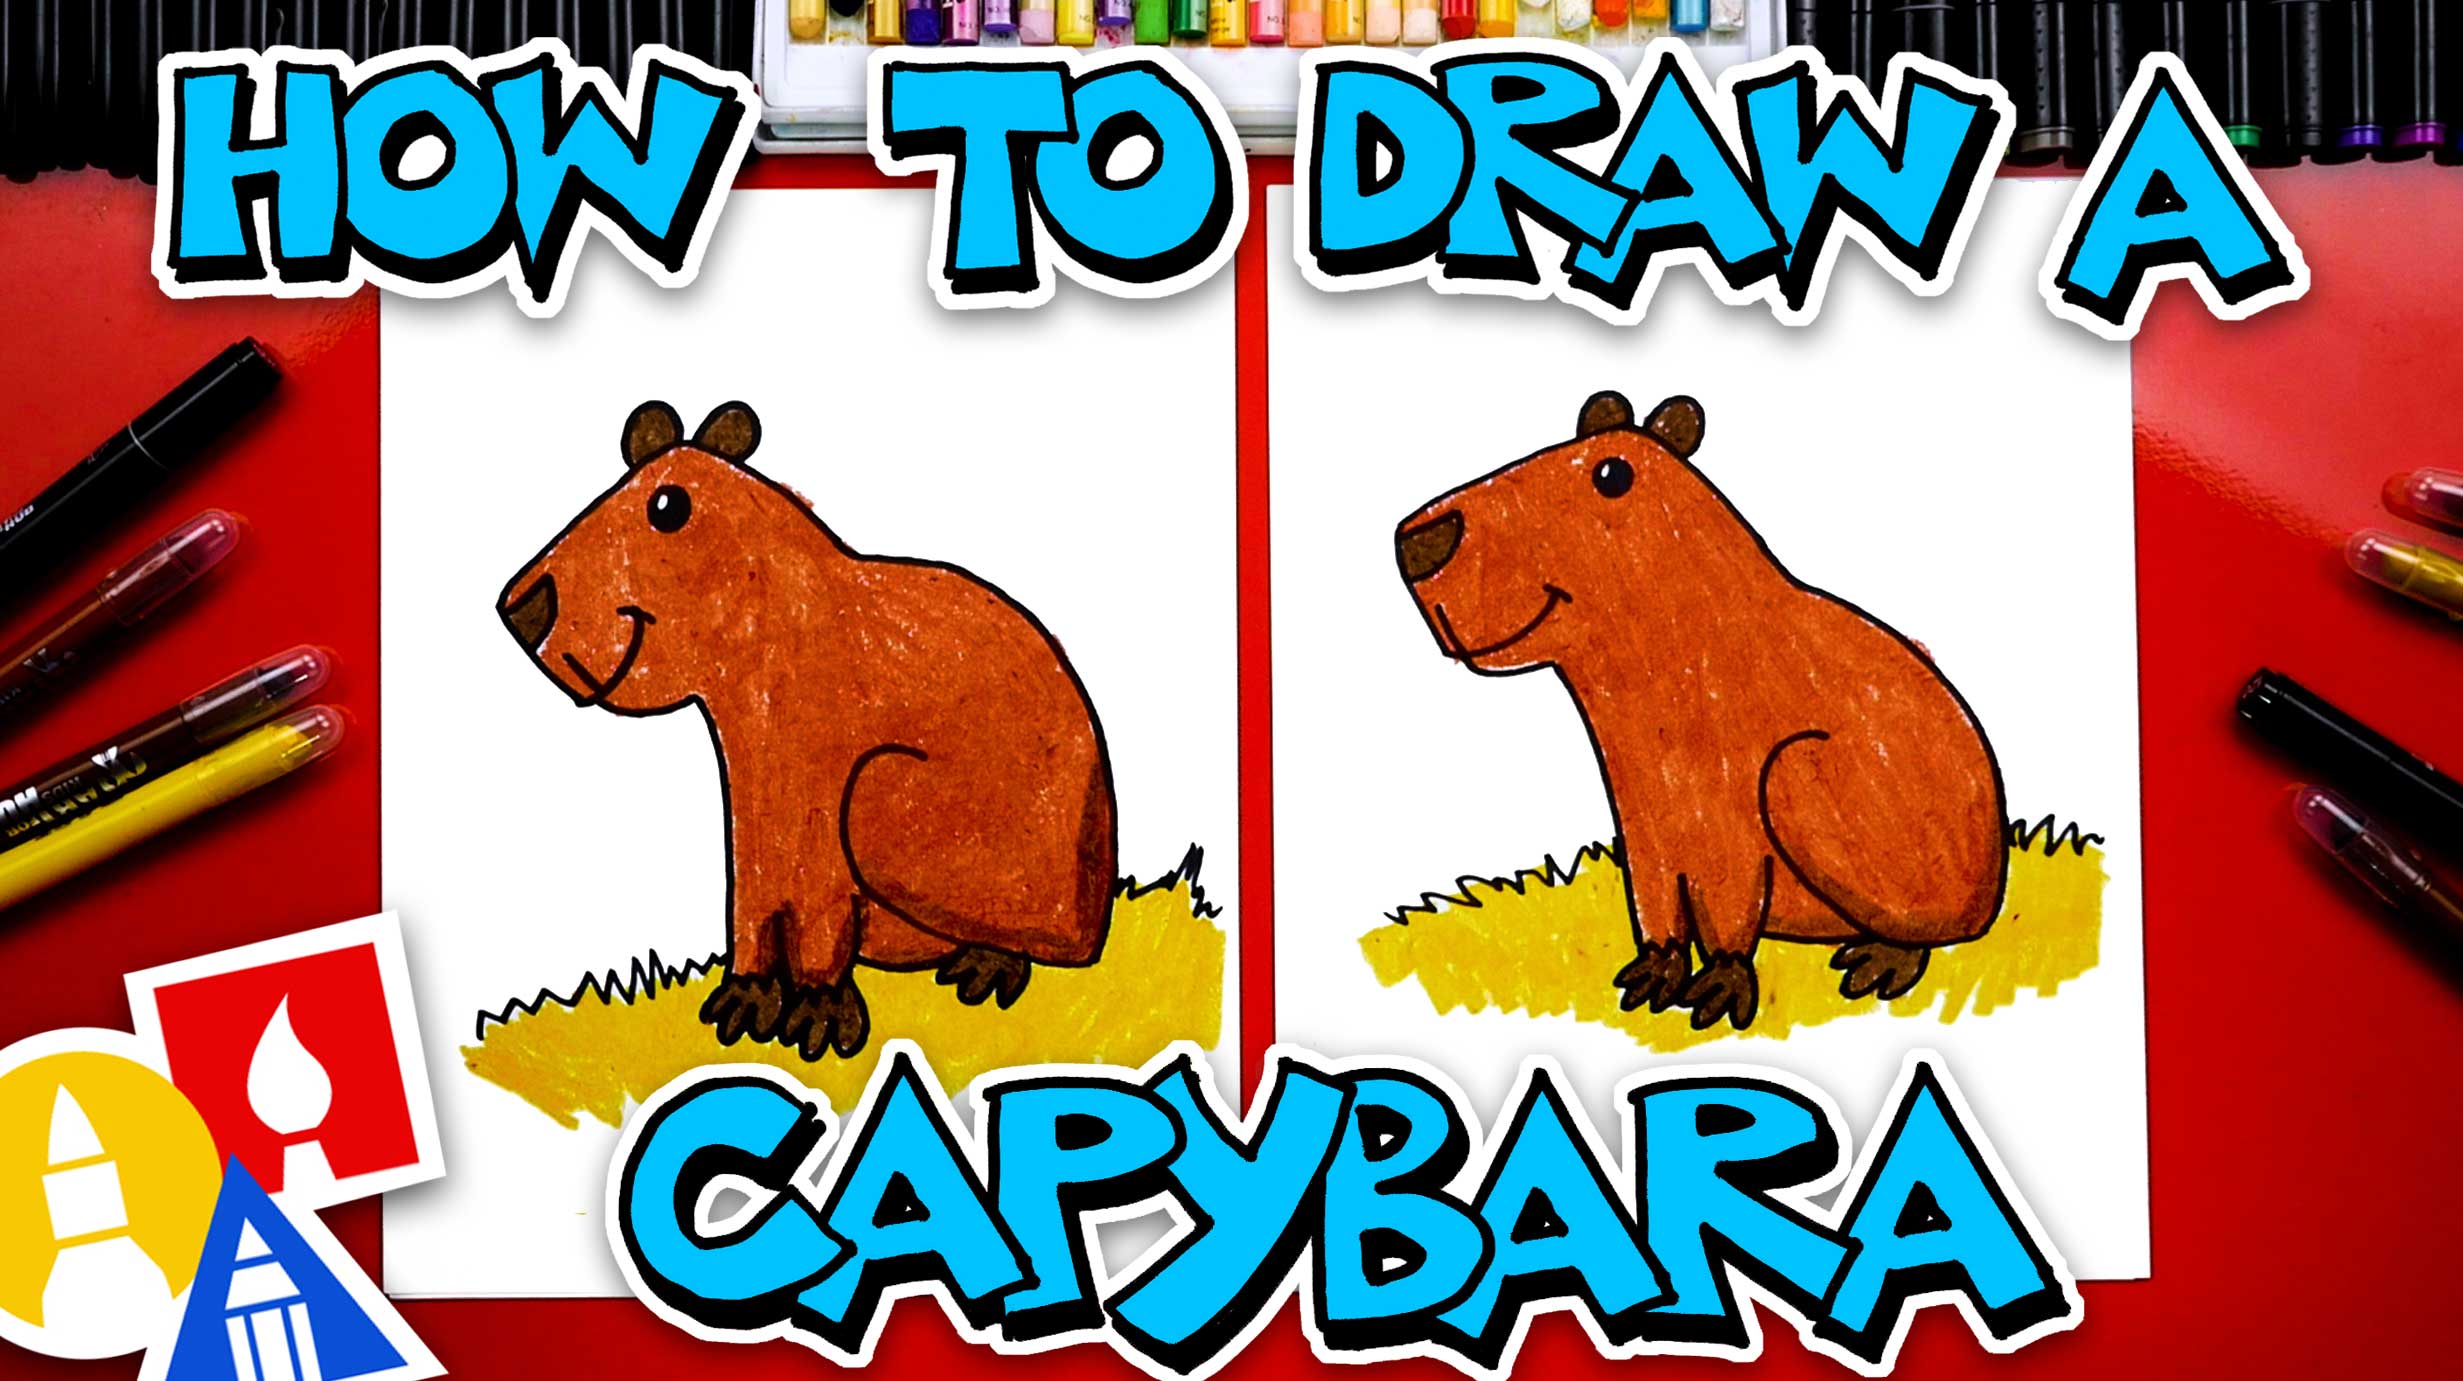
Drawing a capybara can be both a fun and rewarding experience for artists of all skill levels. These delightful creatures, known for their gentle demeanor and sociable nature, make the perfect subject for your next art project. With their unique features and adorable expressions, capybaras capture the hearts of many, making them a popular choice for art enthusiasts and wildlife lovers alike. Whether you're a beginner or a seasoned artist, this guide will help you navigate the process of how to draw a capybara, step by step.
In this article, we will explore various techniques that can elevate your drawing skills while focusing on the capybara's distinctive characteristics. From understanding their anatomy to adding the final touches, you will gain insights that will enhance your artistic journey. Learning how to draw a capybara not only allows you to create a beautiful piece of art but also helps you appreciate these fascinating animals and their unique qualities.
So, are you ready to dive into the world of capybara art? With the right tools, techniques, and a bit of practice, you'll be able to create a stunning representation of these charming creatures. Let's get started on your artistic adventure, and soon you'll find yourself confidently sketching capybaras like a pro!
What Are the Key Features of a Capybara?
Before diving into the actual drawing process, it’s essential to familiarize yourself with the key features of capybaras. These creatures are the largest rodents in the world and have distinct physical characteristics that set them apart from other animals. Here are some features to look out for:
- Large, barrel-shaped bodies
- Short, sturdy legs
- A rounded head with a broad snout
- Small, rounded ears
- Webbed feet, aiding in swimming
What Materials Do You Need to Draw a Capybara?
Having the right materials can make a significant difference in your drawing experience. Here’s a list of essential supplies you’ll need:
- Pencil (preferably HB or 2B for sketching)
- Eraser (for corrections)
- Fine-tipped pens or markers (for inking)
- Colored pencils or watercolors (for adding color)
- Drawing paper (preferably smooth or textured)
How to Start Sketching the Basic Shapes?
To create a realistic drawing of a capybara, start by sketching the basic shapes. This technique helps in achieving proper proportions and positioning. Follow these steps:
How to Define the Features of the Capybara?
Once you have the basic shapes, it's time to define the capybara's features. Follow these tips to add details:
- Refine the outline of the body by softening the edges.
- Add the facial features, including the eyes, nose, and mouth.
- Draw the ears, making sure they are small and rounded.
- Outline the legs and feet, adding webbing if desired.
What Techniques Can You Use for Shading?
Shading is crucial in adding depth and dimension to your capybara drawing. Here are some techniques to consider:
- Use hatching (parallel lines) to create texture.
- Try cross-hatching for darker areas.
- Blend with your finger or a blending stump for soft transitions.
- Apply a light touch for highlights, especially around the eyes and nose.
How to Add Color to Your Capybara Drawing?
Color can bring your capybara drawing to life. Here’s how to effectively add color:
How to Finalize Your Capybara Drawing?
After coloring, it’s essential to finalize your drawing to ensure it looks polished. Here’s how:
- Review your drawing for any areas that need touch-ups.
- Use an ink pen to outline your drawing for a clean finish.
- Consider adding a background to give context to your capybara.
- Sign your artwork to claim your masterpiece!
What Are Some Common Mistakes to Avoid?
As you embark on your journey of how to draw a capybara, be mindful of these common mistakes:
- Neglecting proportions can lead to an unrealistic representation.
- Skipping the sketching phase may result in a lack of detail.
- Overcomplicating shading can make your drawing appear muddled.
- Rushing the coloring process can lead to a flat appearance.
How Can You Improve Your Capybara Drawing Skills?
Practice is key to improving your drawing skills. Here are some tips to enhance your abilities:
- Study reference images to understand the capybara’s anatomy.
- Join art communities for feedback and inspiration.
- Experiment with different styles and techniques.
- Set aside time each week to practice drawing capybaras.
In conclusion, learning how to draw a capybara is a delightful journey that combines creativity and observation. By following the steps outlined in this guide, you can create a stunning piece of art that showcases the charm of these gentle creatures. Remember to enjoy the process and let your artistic skills flourish as you sketch your very own capybara masterpiece!
Also Read
Article Recommendations


ncG1vNJzZmivp6x7tMHRr6CvmZynsrS71KuanqtemLyue9WiqZqko6q9pr7SrZirq2FktbDDjK2mZpyilsRurYycmKmxkpa%2FonrHraSl