Drawing a crow can be a fun and rewarding experience for artists of all skill levels. These intelligent birds are often associated with mystery and lore, making them an intriguing subject for art. Whether you're a beginner looking to improve your drawing skills or an experienced artist seeking to capture the essence of a crow, this comprehensive guide will provide you with everything you need to know. In this article, we will cover essential techniques, tips, and tools for drawing a crow, along with a detailed step-by-step tutorial to help you create your masterpiece.
In addition to the step-by-step instructions, we will explore the anatomy of a crow, the best materials to use, and common mistakes to avoid. By the end of this guide, you will have a clear understanding of how to draw a crow and be able to apply these skills to your own artwork. So grab your pencils, and let's get started on this artistic journey!
Before diving into the details, let's take a moment to appreciate the beauty and complexity of crows. These birds are not only fascinating to observe in nature but also serve as excellent subjects for drawing. Their unique features and poses provide ample opportunities for creativity and expression. So, whether you are drawing for fun or to enhance your portfolio, learning how to draw a crow will be a valuable addition to your artistic repertoire.
Table of Contents
1. Materials Needed for Drawing a Crow
Before you start drawing, it's essential to gather the right materials. Here’s a list of items you'll need:
- Pencil (preferably HB or 2B for sketching)
- Eraser
- Fine-tip black pen or ink for outlining
- Colored pencils or markers (if you plan to color your drawing)
- Sketchbook or drawing paper
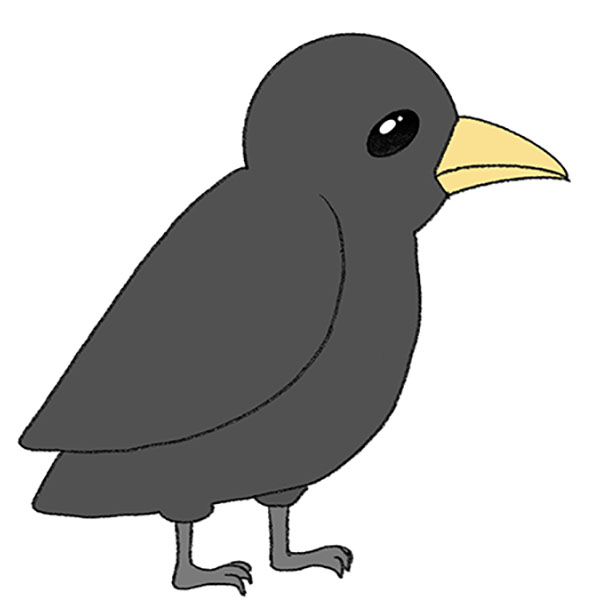
2. Understanding Crow Anatomy
To draw a crow effectively, it helps to understand its anatomy. Crows have distinct features that set them apart from other birds:
- Head: Crows have a rounded head with a strong beak.
- Body: Their bodies are sturdy and compact with strong wings.
- Tail: Crows have a long, fan-shaped tail that aids in flight.
- Feet: Their feet are adapted for perching and walking.
Familiarizing yourself with these features will help you create a more accurate representation of a crow in your drawing.
3. Step-by-Step Sketching Process
Now that you have your materials and an understanding of crow anatomy, it’s time to start sketching. Follow these steps:
Step 1: Basic Shapes
Begin by lightly sketching basic shapes to outline the crow's body. Use circles for the head and body, and ovals for the wings and tail.
Step 2: Outline the Head and Body
Refine the shapes by adding the crow's distinctive features such as the beak and eyes. Make sure to capture the proportions accurately.
Step 3: Add the Wings and Tail
Sketch the wings in a slightly curved position, and draw the tail feathers spreading out at the back. Pay attention to the flow and movement.
Step 4: Refine the Sketch
Go over your sketch and refine the lines, erasing any unnecessary marks. This is the stage where you can make adjustments to improve the overall shape.
4. Adding Details and Texture
Once you're satisfied with your sketch, it’s time to add details:
Focus on the feathers, beak, and eyes:
- For the feathers, use short, curved lines to indicate texture.
- Detail the beak by adding shadows and highlights to give it depth.
- Draw the eyes with a slight glimmer to make them look alive.
5. Techniques for Shading a Crow
Shading can bring your drawing to life. Here are some techniques to consider:
- Hatching: Use parallel lines to create shadows.
- Cross-hatching: Layer lines in different directions for deeper shadows.
- Blending: Use a blending stump or your finger to smooth out pencil lines.
Pay attention to the light source in your drawing and shade accordingly to create a realistic effect.
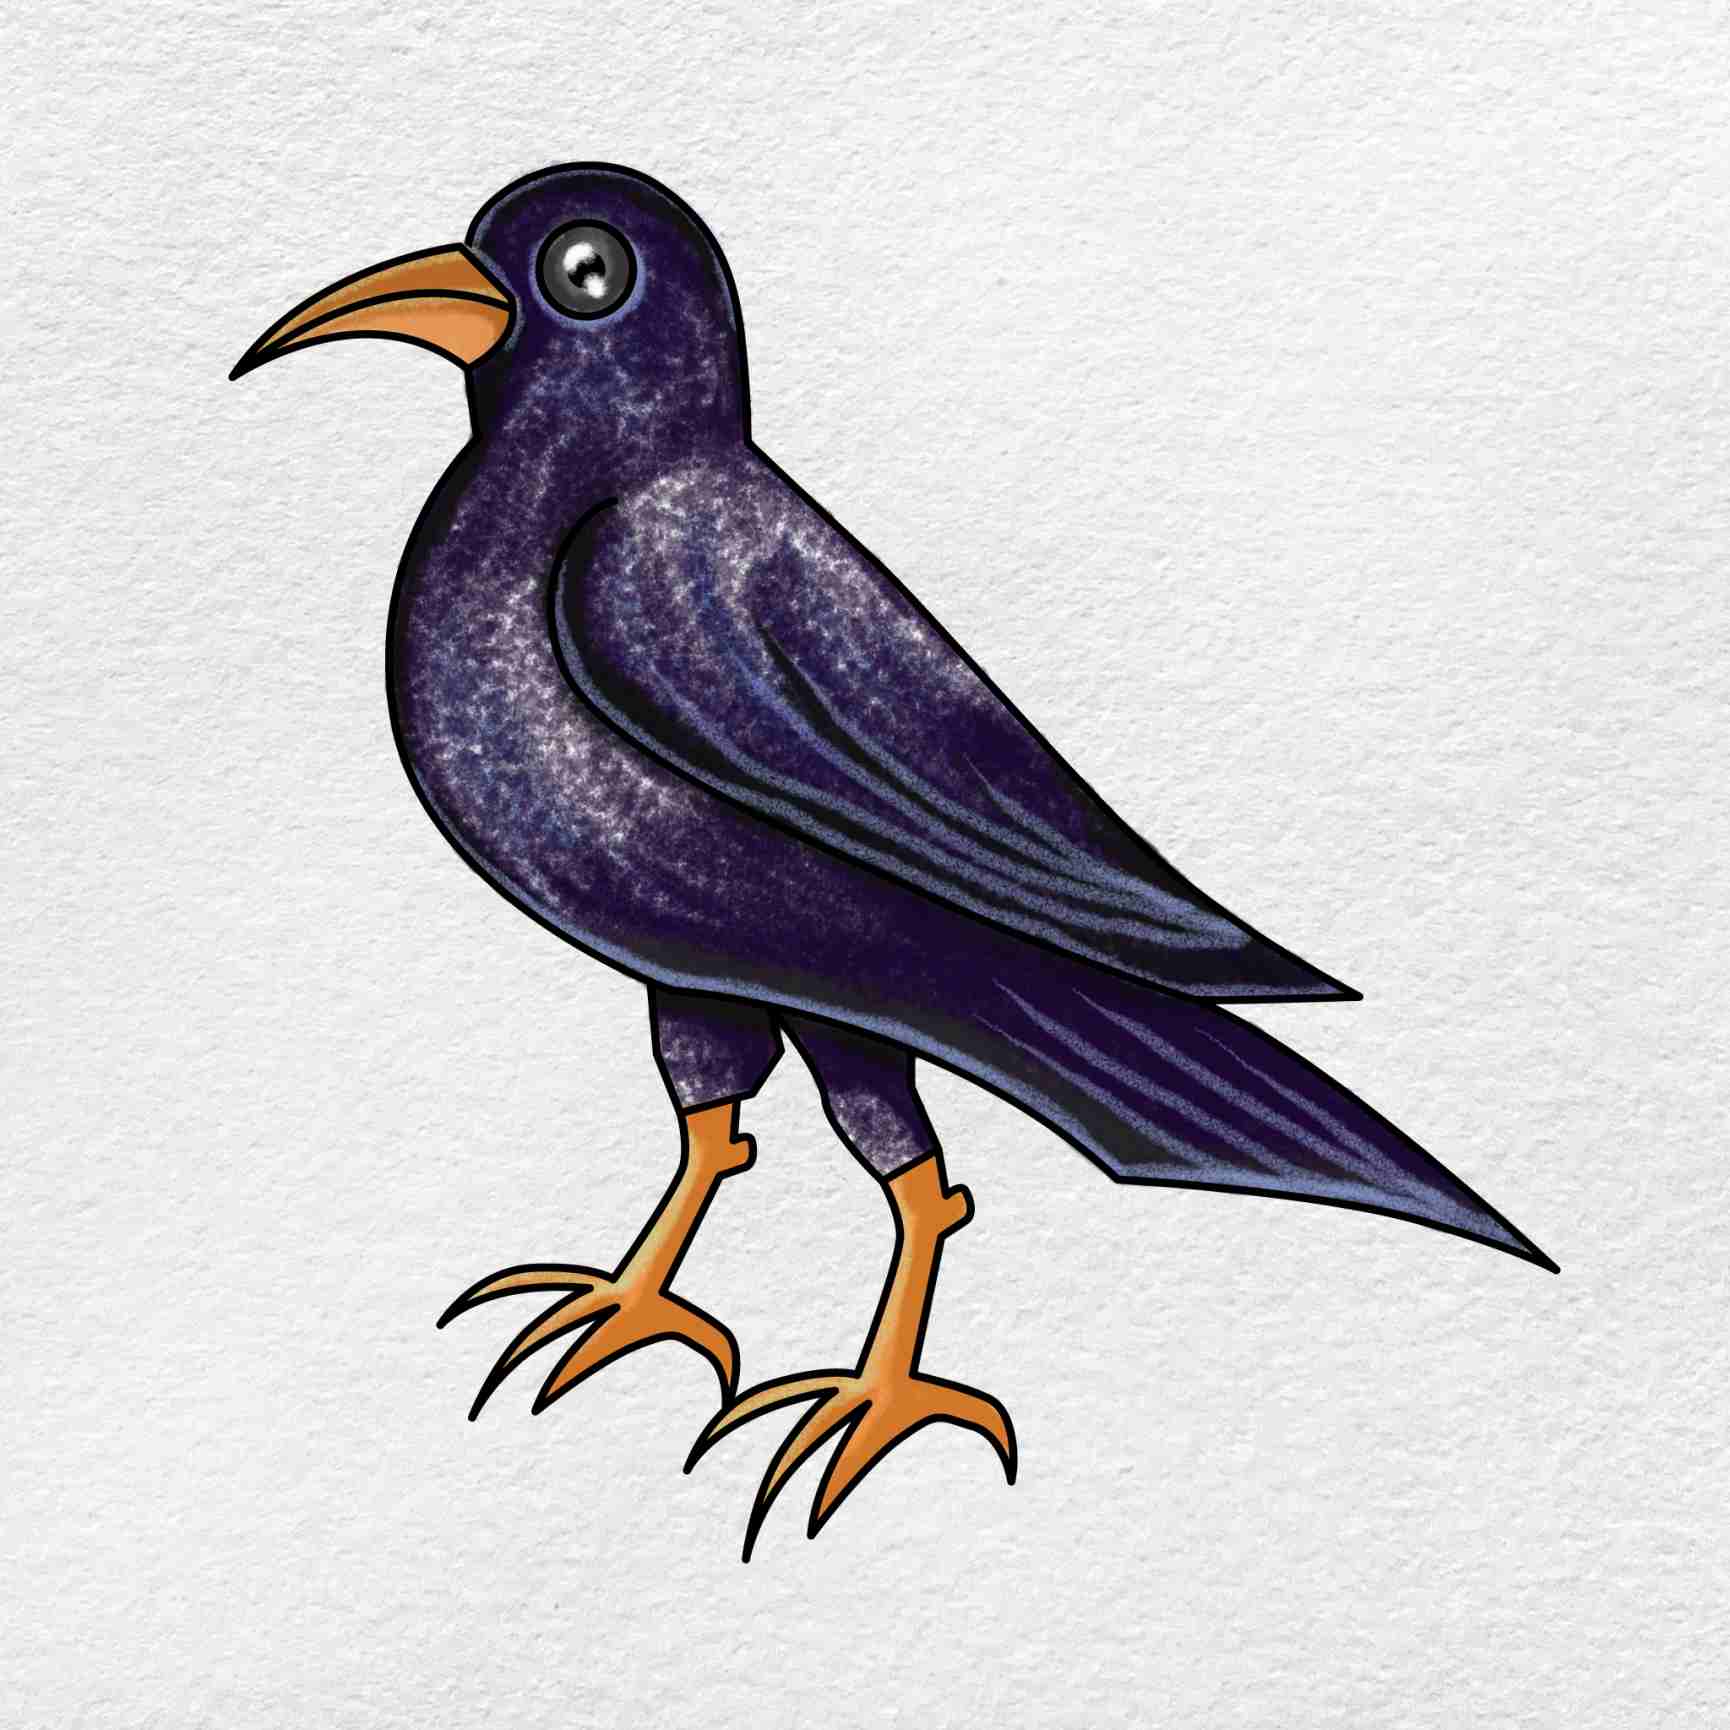
6. Coloring Your Crow Drawing
If you wish to add color, consider these tips:
- Use dark shades of blue and purple to create depth in the black feathers.
- Layer your colors for a more dynamic look.
- Consider the background; a contrasting color can make your crow stand out.
7. Common Mistakes to Avoid
As you draw, be aware of these common mistakes:
- Over-detailing too early in the process.
- Ignoring proportions can lead to an unrealistic drawing.
- Neglecting the light source when shading.
Take your time and review your work periodically to catch any errors early on.
8. Conclusion and Final Thoughts
Drawing a crow can be a fulfilling artistic endeavor. By following the steps outlined in this guide, you can successfully create a stunning depiction of this remarkable bird. Remember to practice regularly, as improvement comes with experience. Don’t hesitate to share your artwork and seek feedback from fellow artists.
We encourage you to leave comments about your experiences with drawing crows or share your tips and tricks. If you enjoyed this article, consider sharing it with others interested in drawing or exploring their creative side. Happy drawing!
Thank you for visiting our guide! We hope to see you back for more artistic tips and tutorials in the future.
Also Read
Article Recommendations

ncG1vNJzZmivp6x7tMHRr6CvmZynsrS71KuanqtemLyue9KtmKtlpJ64tbvKamhooJ%2BserW7jJ2pmq9dlnqkvs6wZaGsnaE%3D