Pumpkin drawing is an art form that combines creativity and technical skill, perfect for both beginners and seasoned artists. Whether you want to create stunning Halloween decorations or simply enjoy the process of drawing, mastering this skill can be incredibly rewarding. In this comprehensive guide, we will explore the intricacies of pumpkin drawing, techniques to enhance your skills, and tips to make your drawings stand out.
In the world of art, pumpkins are not just seasonal decorations; they are symbols of harvest, abundance, and creativity. Drawing pumpkins allows you to experiment with shapes, colors, and shading, making it an excellent exercise for both your artistic and observational skills. As we delve deeper into this guide, you will discover various methods, tools, and inspiration sources to elevate your pumpkin drawing game.
By the end of this article, you will be equipped with the knowledge and techniques to create beautiful pumpkin drawings, whether for personal enjoyment or to impress others. Let’s embark on this exciting artistic journey and unlock your potential in pumpkin drawing!
Table of Contents
1. The Basics of Pumpkin Drawing
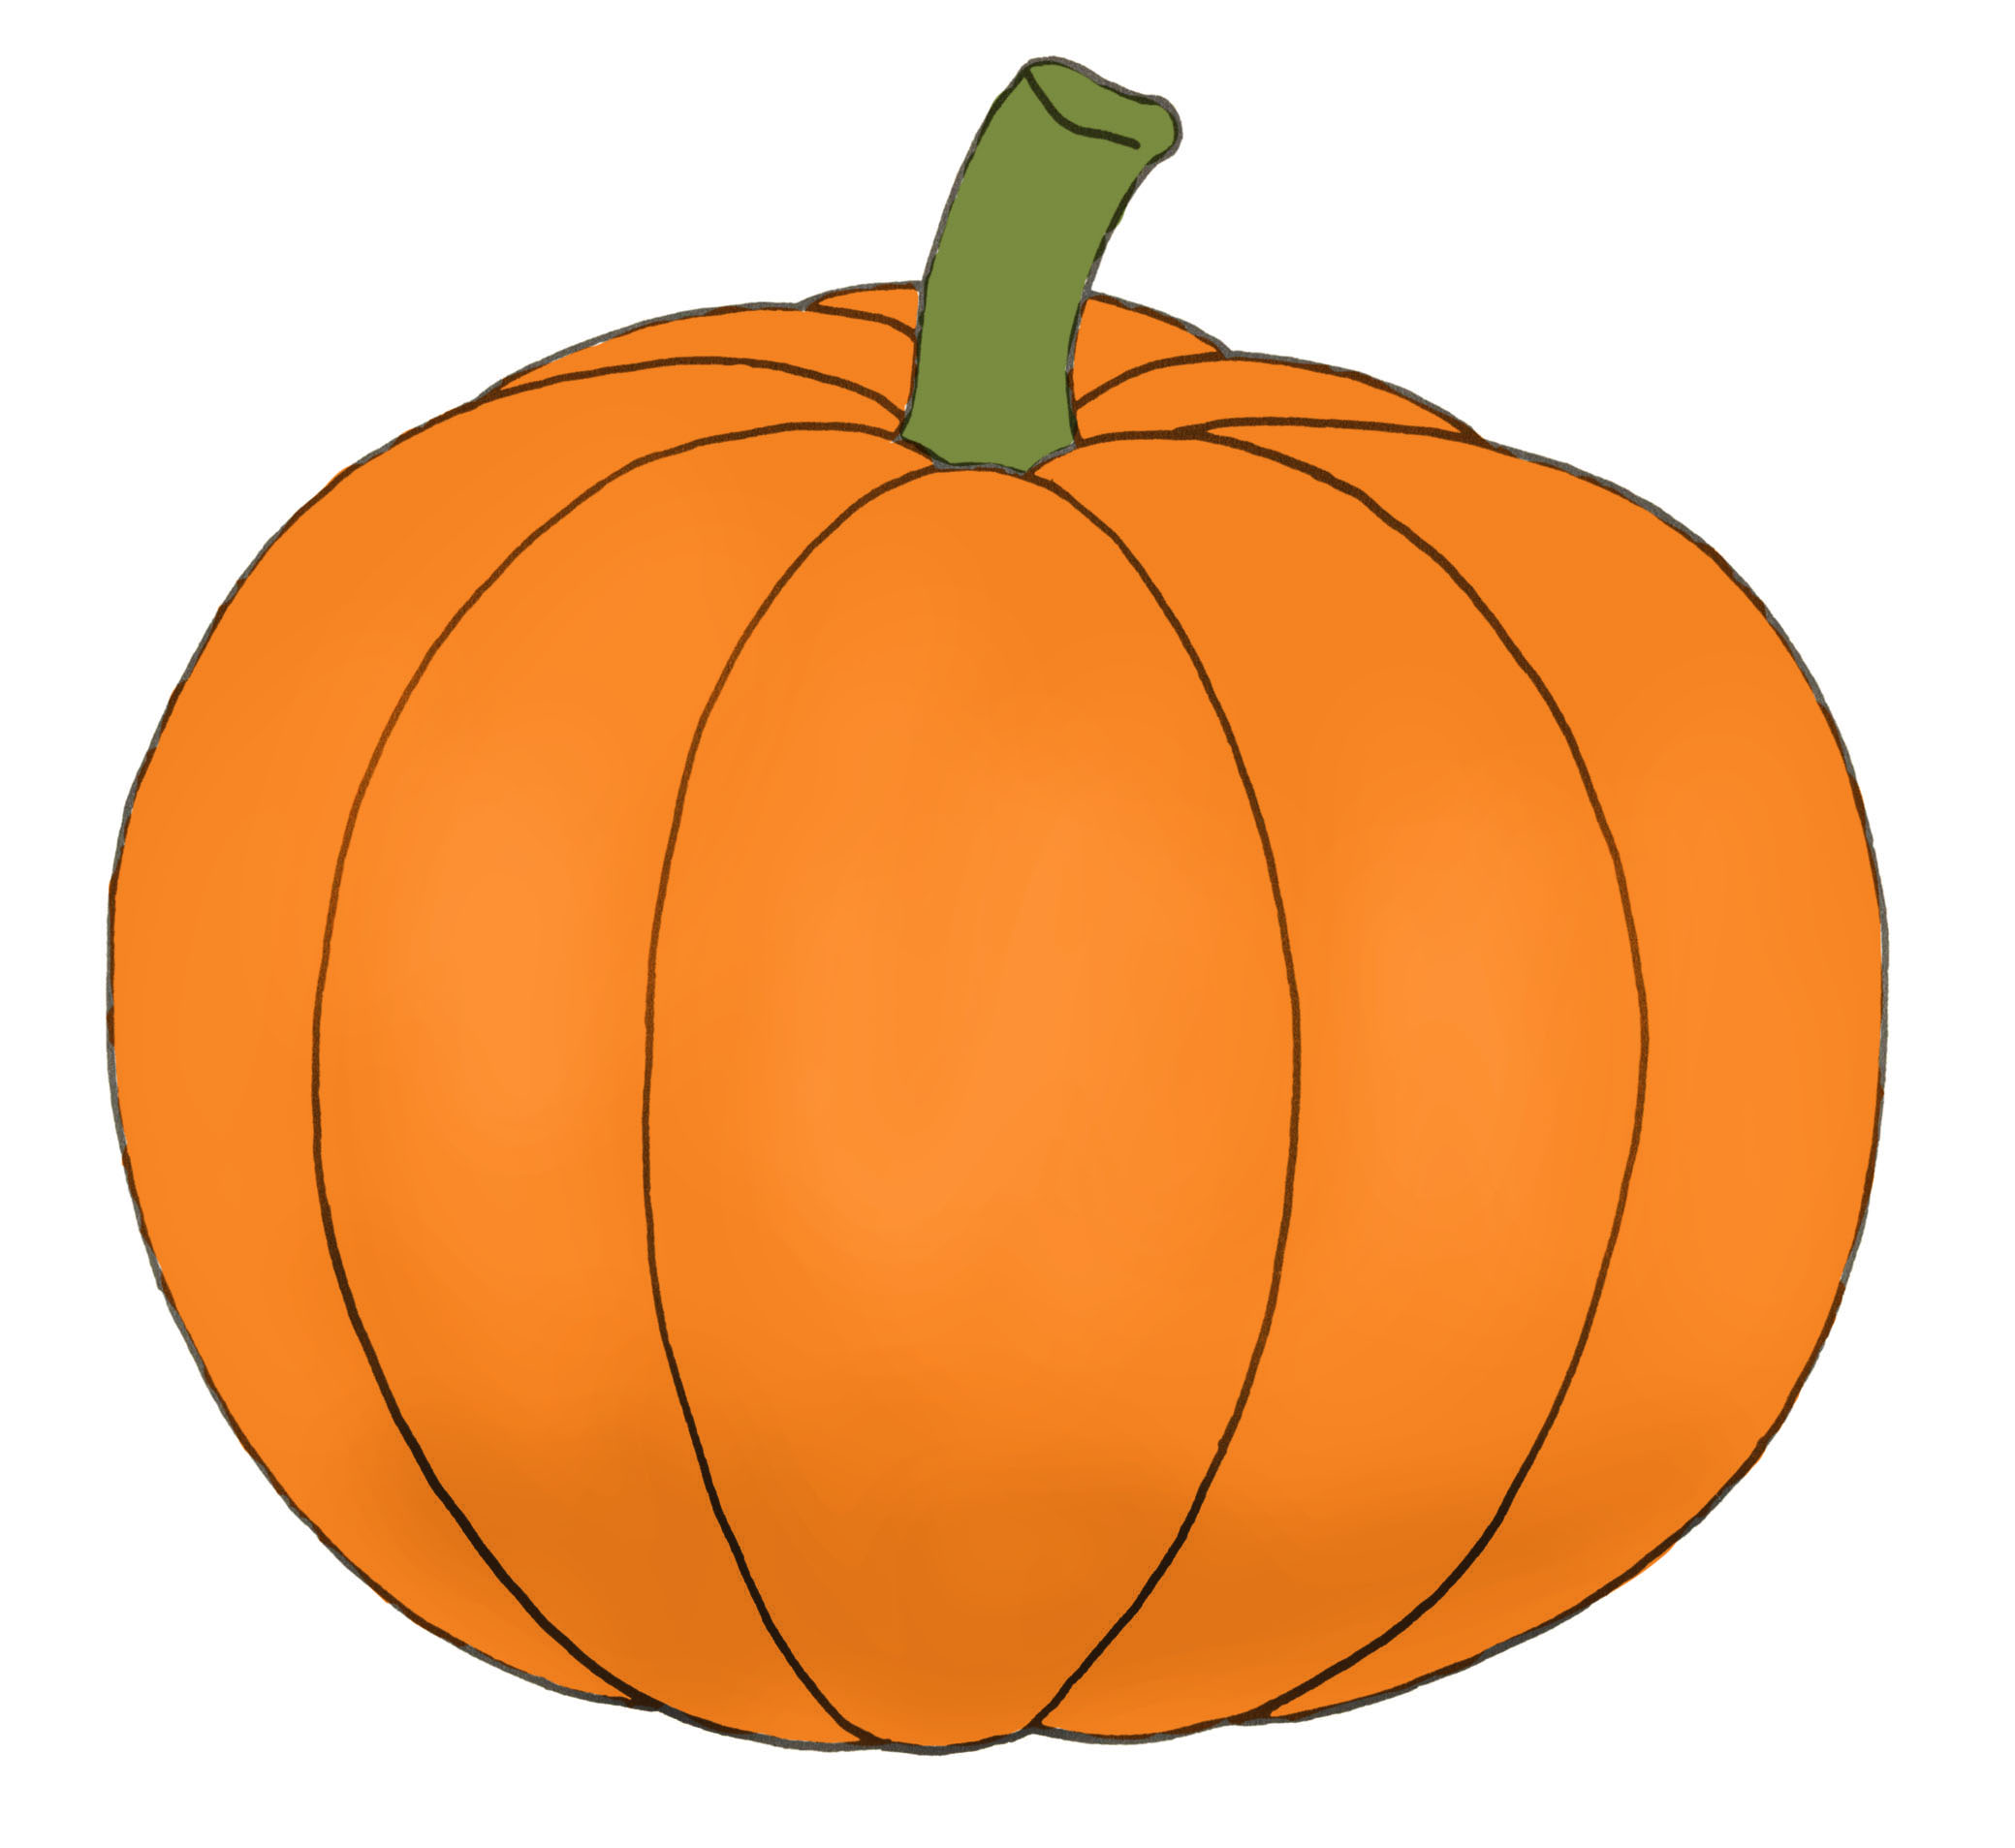
Before diving into the drawing process, it's essential to understand the basic shapes and forms of pumpkins. They typically have a round body with a slightly flattened top and bottom. The ribbed texture and the stem on top add to their unique characteristics. Understanding these elements is crucial for creating a realistic representation.
Understanding Pumpkin Anatomy
- Shape: Most pumpkins are oval or round.
- Texture: Ribbed lines running vertically down the sides.
- Color: Varies from bright orange to green, white, or even striped.
- Stem: A thick, woody appendage on the top.
2. Tools and Materials Needed
To create stunning pumpkin drawings, you’ll need the right tools and materials. Here’s a list of essential items that will help you get started:
- Pencils (HB and 2B for shading)
- Erasers (kneaded and regular)
- Paper (preferably sketch or drawing paper)
- Colored pencils or markers for coloring
- Blending stumps for smooth shading
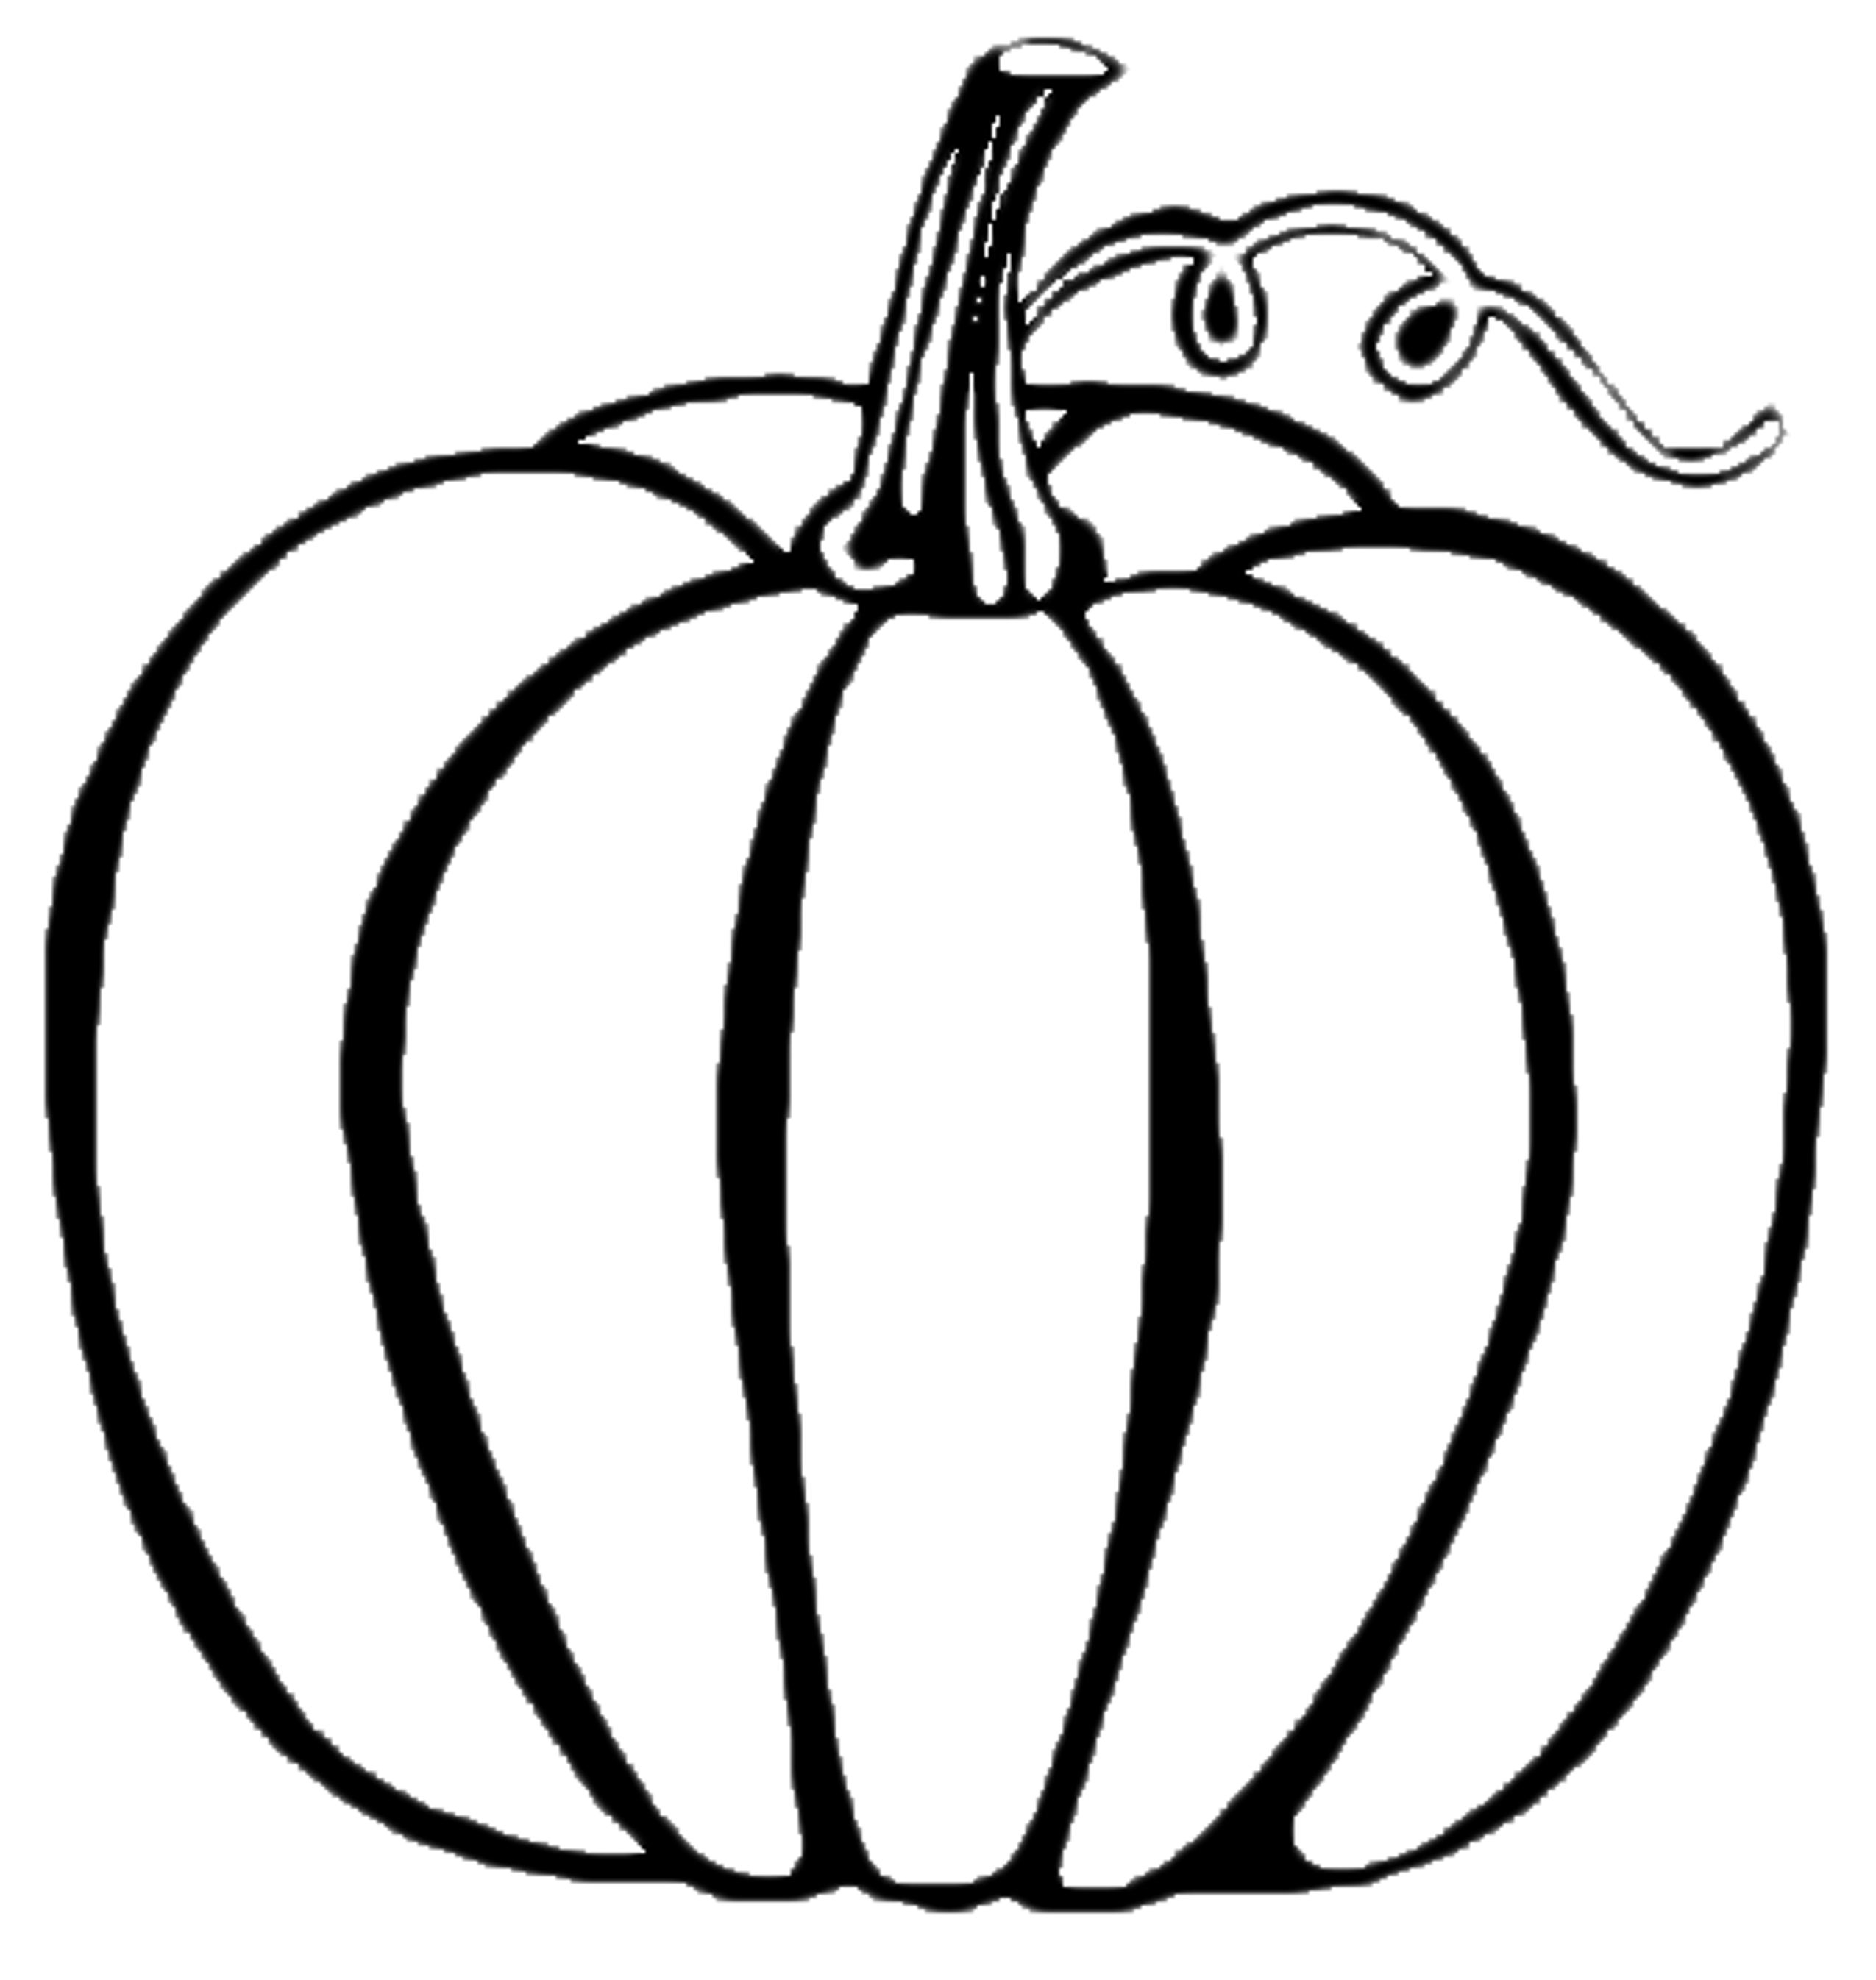
3. Step-by-Step Guide to Drawing a Pumpkin
Let’s walk through the process of drawing a pumpkin step by step:
4. Techniques to Enhance Your Pumpkin Drawings
To elevate your pumpkin drawings, consider incorporating advanced techniques:
- Shading: Use different pencil pressures to create depth.
- Highlighting: Leave some areas white to represent light reflection.
- Color Blending: Mix colored pencils for a more vibrant look.
5. Common Mistakes and How to Avoid Them
Here are some frequent pitfalls in pumpkin drawing and tips to avoid them:
- Overcomplicating the shape: Start simple and build complexity.
- Poor shading techniques: Practice blending for smoother transitions.
- Ignoring proportions: Use reference images to maintain accuracy.
6. Inspiration and Ideas for Pumpkin Drawings
Finding inspiration can greatly enhance your creativity. Here are some ideas to spark your imagination:
- Draw different pumpkin varieties (e.g., white pumpkins, striped pumpkins).
- Create a spooky pumpkin face for Halloween.
- Incorporate surrounding elements like leaves or vines.
7. Showcasing Your Pumpkin Art
Once you’ve completed your pumpkin drawing, consider showcasing your art:
- Share on social media platforms like Instagram or Pinterest.
- Participate in local art exhibitions or contests.
- Create a portfolio to display your best work.
8. Conclusion and Call to Action
In conclusion, pumpkin drawing is a delightful way to express your creativity and improve your artistic skills. By following the techniques and tips provided in this guide, you can create impressive pumpkin drawings that capture the essence of this beloved symbol. Don’t forget to share your artwork and inspire others!
We invite you to leave your comments below, share this article with your friends, or explore more articles on our site to further enhance your drawing skills!
Also Read
Article Recommendations

ncG1vNJzZmivp6x7tMHRr6CvmZynsrS71KuanqtemLyue9Oop6edp6iDcLzUpqekoZ5isbOt1qKloGaYqbqt